To move files between SharePoint sites, open the source document library, select the files, click Move to on the command bar, and choose the destination site and library. In SharePoint Online, the move keeps each file’s version history and metadata and removes the files from the source once the transfer finishes.
Moving files within a single site is simple, but moving them between sites—or across site collections—adds questions about permissions, metadata, and item limits. This guide walks through every scenario: single files, entire folders, and cross-site-collection moves, plus the most common errors and how to fix them. All steps reflect the current SharePoint Online / Microsoft 365 interface as of 2026.
Method 1: Move files between SharePoint sites using “Move to”
The “Move to” command is the fastest native way to move files between sites in the same Microsoft 365 tenant, and it preserves version history.
- Go to the source site and open the document library that contains the files you want to move.
- Hover over each item and select the circle (check mark) to its left to select one or more files.
- On the command bar at the top of the library, click Move to. If you don’t see it, click the ellipsis (…) to reveal more commands.

The “Move to” command on the document library command bar.
- In the right-hand panel, choose a destination. SharePoint first shows your current location and Quick access sites. To move the files to a different site, click More places… at the bottom of the panel.
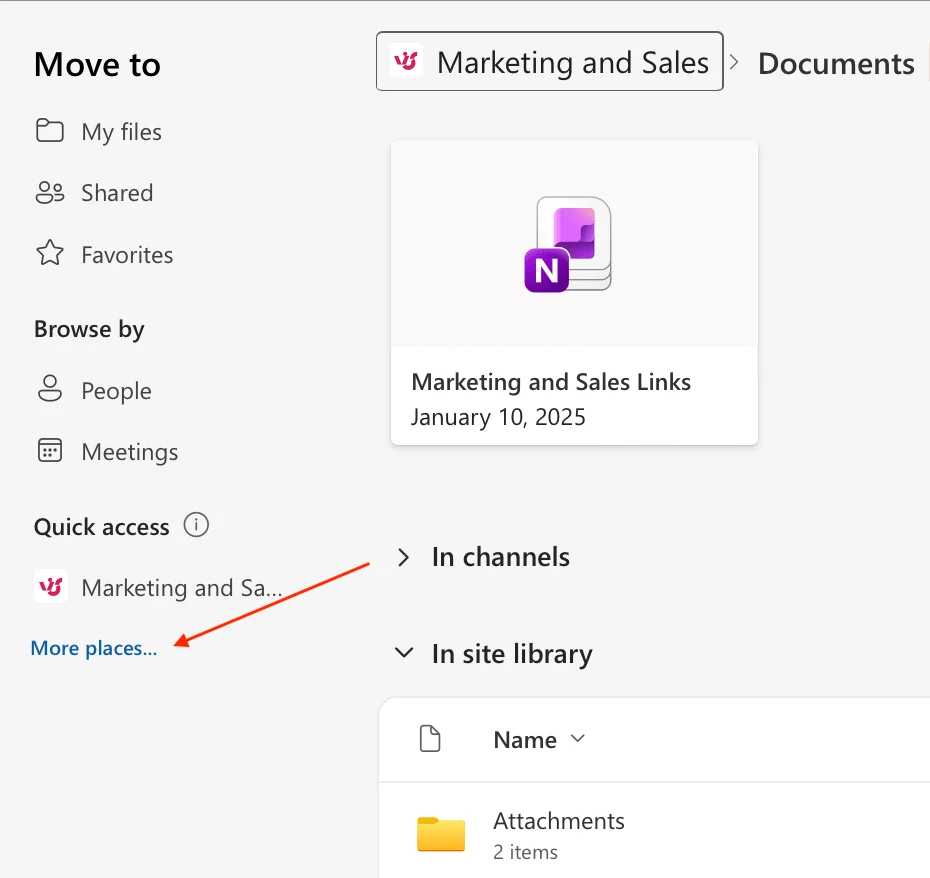
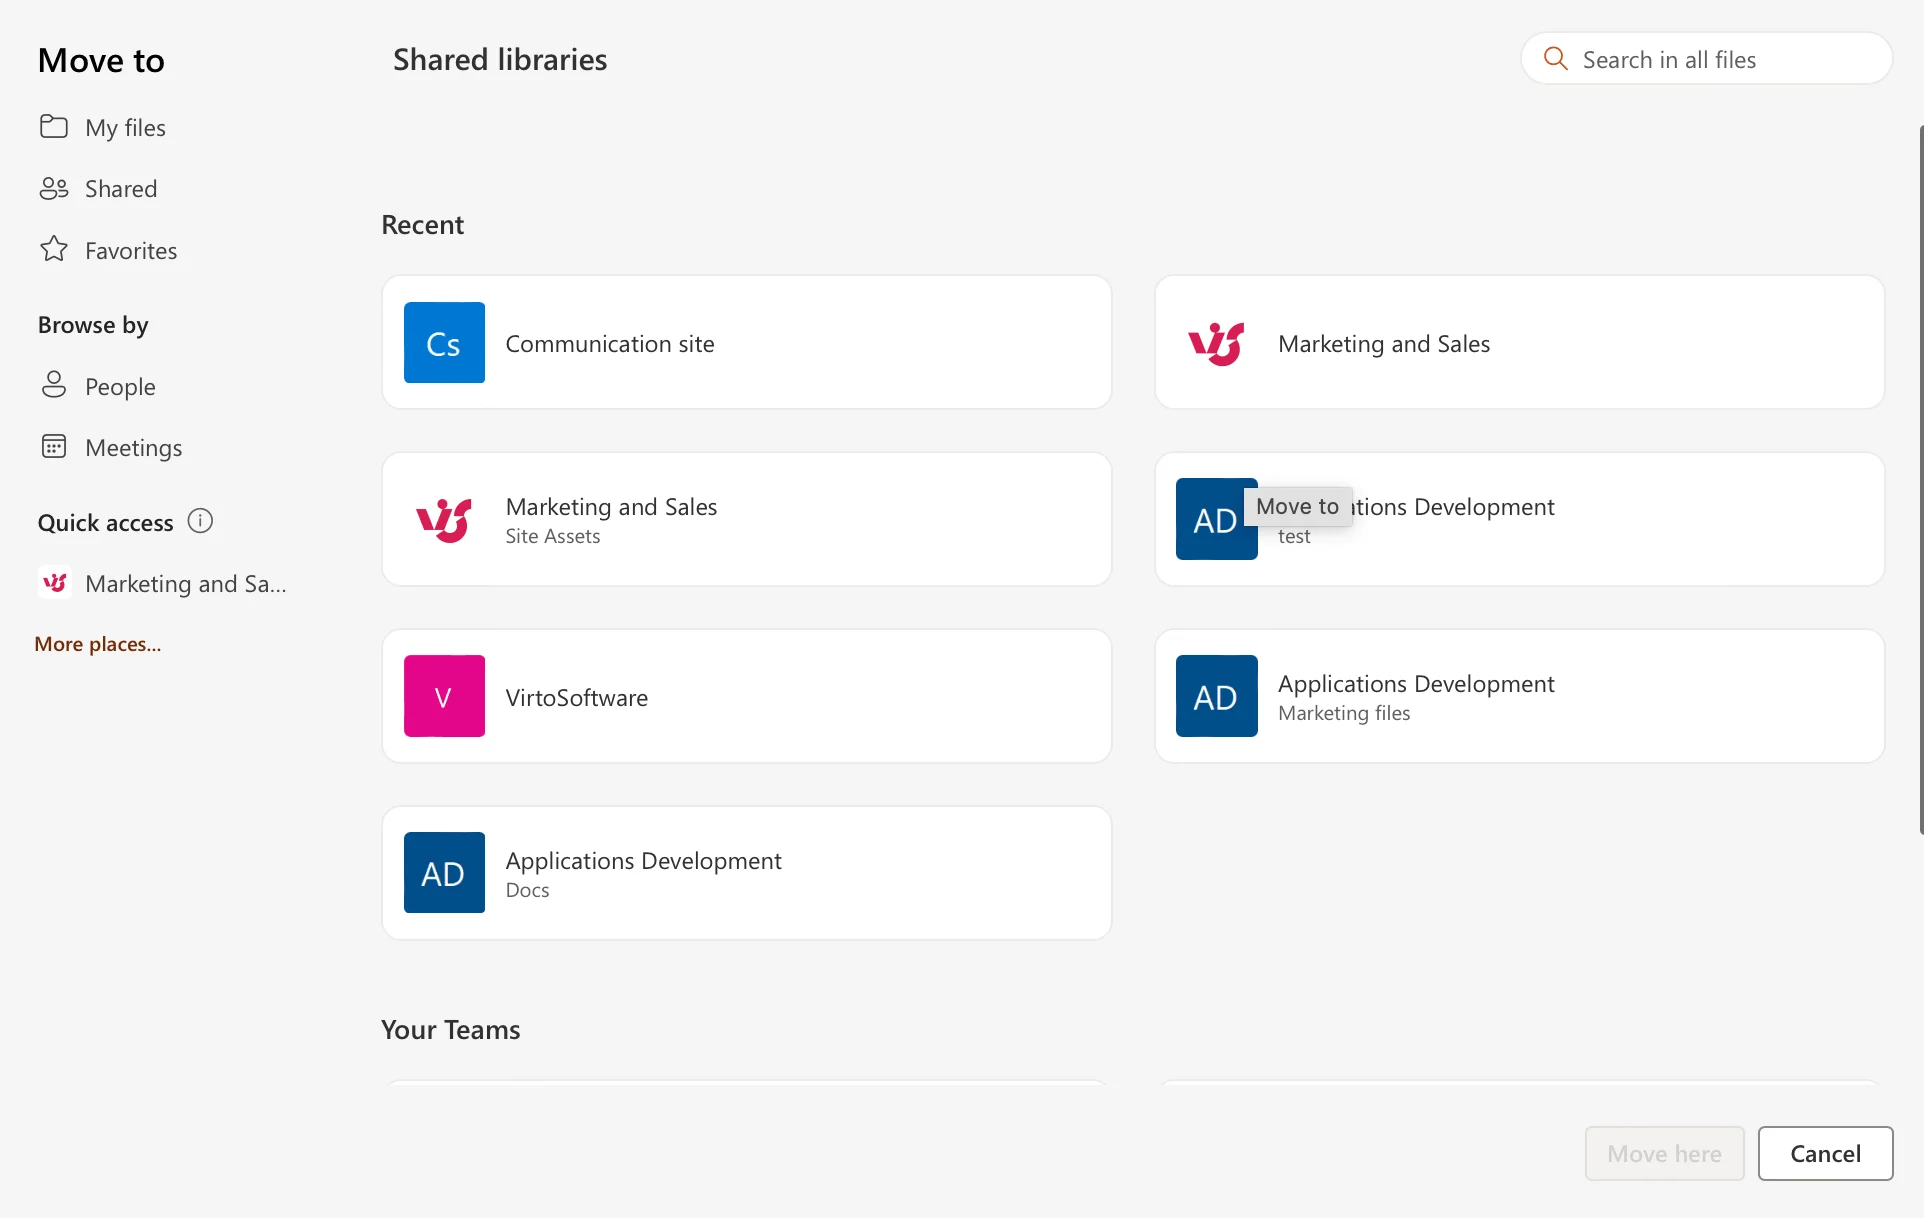
- The Shared libraries view opens, listing document libraries across the other SharePoint sites you have access to (Recent, Quick access, and your Teams). Select the target site’s library here.
Choosing the destination site in the Move panel.
- Select the destination document library and, if needed, open a subfolder.
Selecting the destination library and folder.
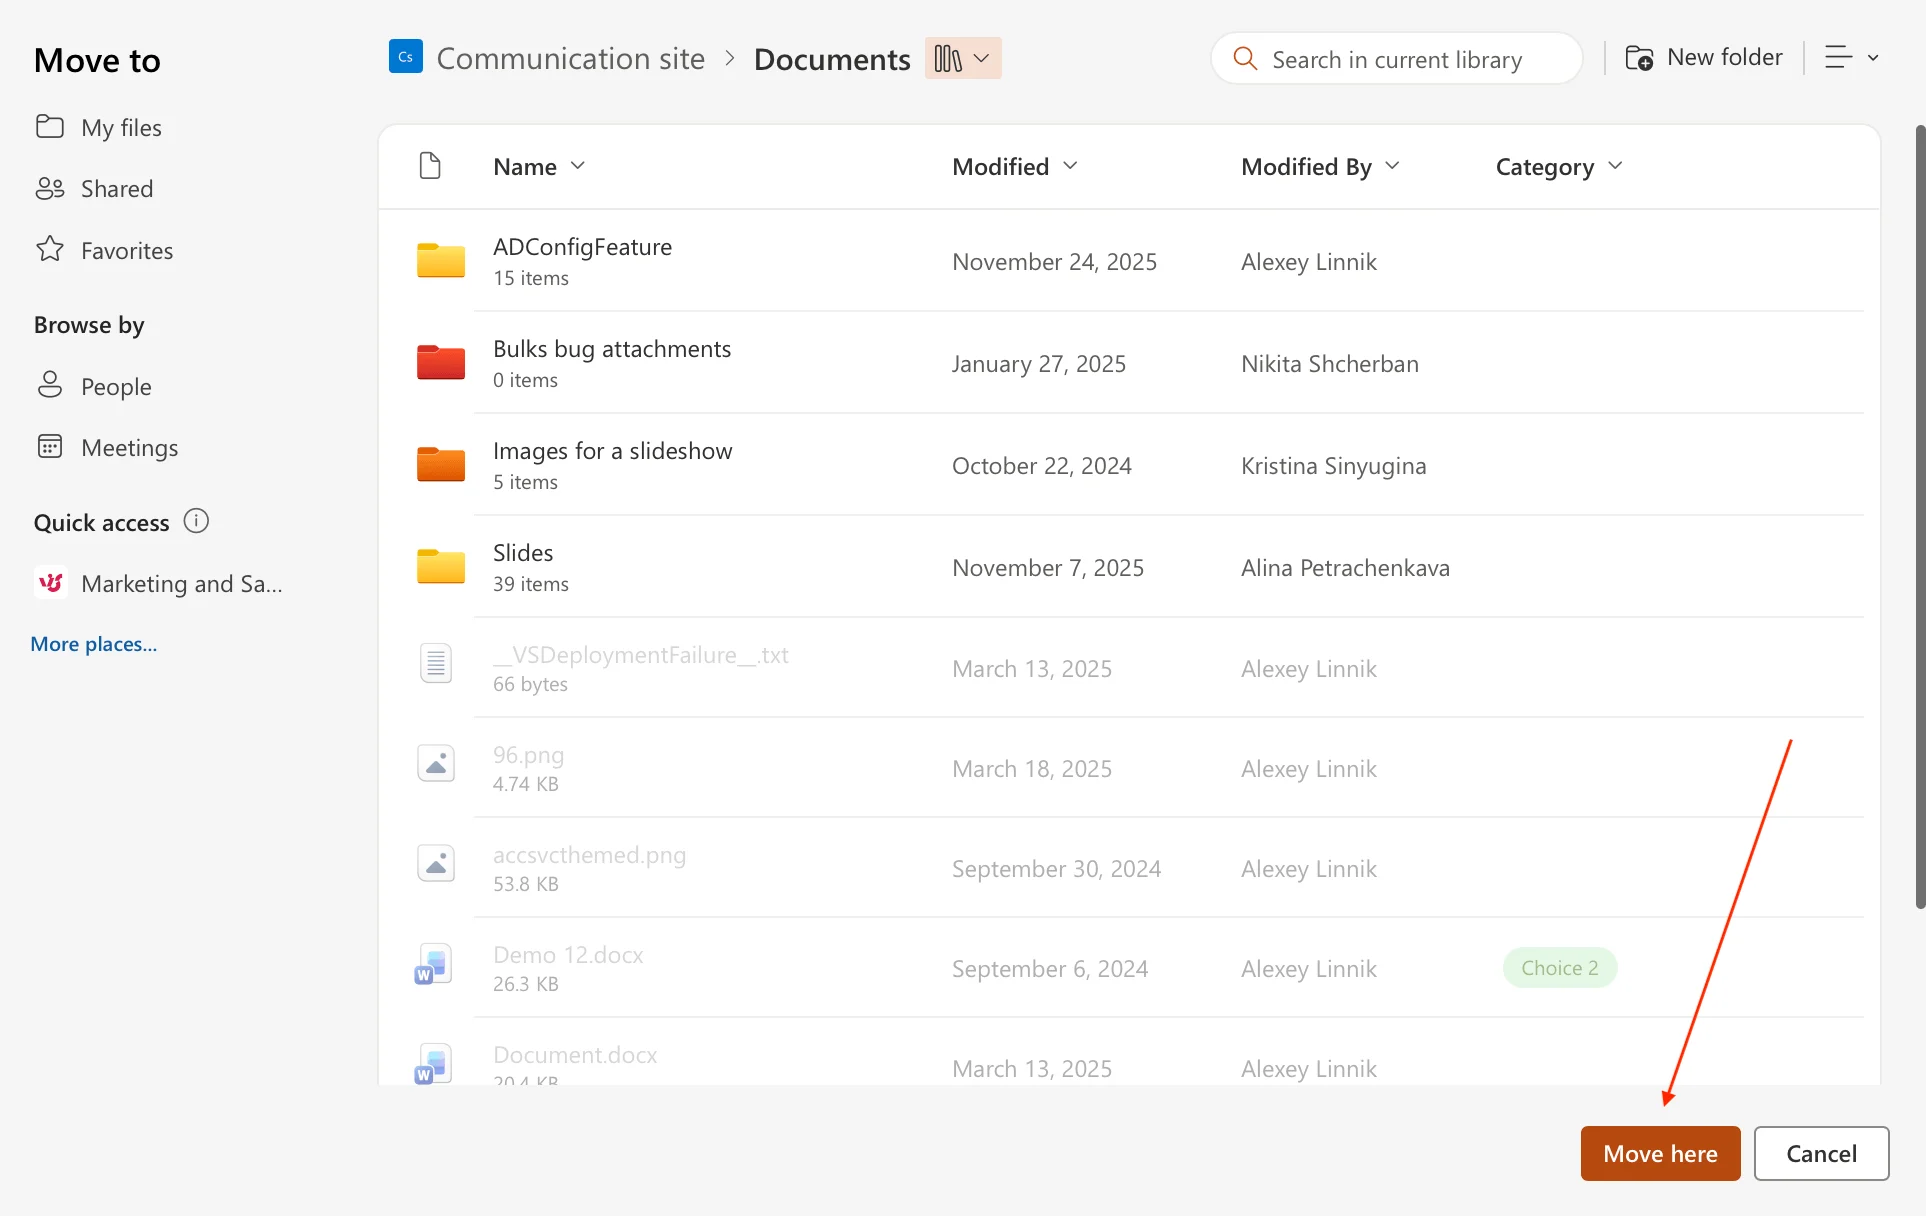
- Click Move here. SharePoint moves the files, retains their version history, and removes them from the source library.
Tip: Because the original is deleted after a successful move, confirm the destination first. If you want to keep the source copy, use Copy to instead (see the Move vs Copy section below).
Method 2: Move files with sync — File Explorer (Windows) or Finder (Mac)
If you prefer drag-and-drop, sync both libraries to your computer and move the files in File Explorer on Windows or Finder on a Mac.
The classic “Open in File Explorer” option only works in legacy Windows browser modes and has no macOS equivalent. The reliable cross-platform approach in 2026 is to Add shortcut to OneDrive or Sync each library through the OneDrive app, then drag files between the synced folders. This works the same way on Windows and Mac — only the file manager differs.
Before you start: install and sign in to the OneDrive app (built into Windows; a free download from the Mac App Store on macOS). The synced libraries then appear in File Explorer on Windows or in the Finder sidebar on a Mac, under your OneDrive / organization name.
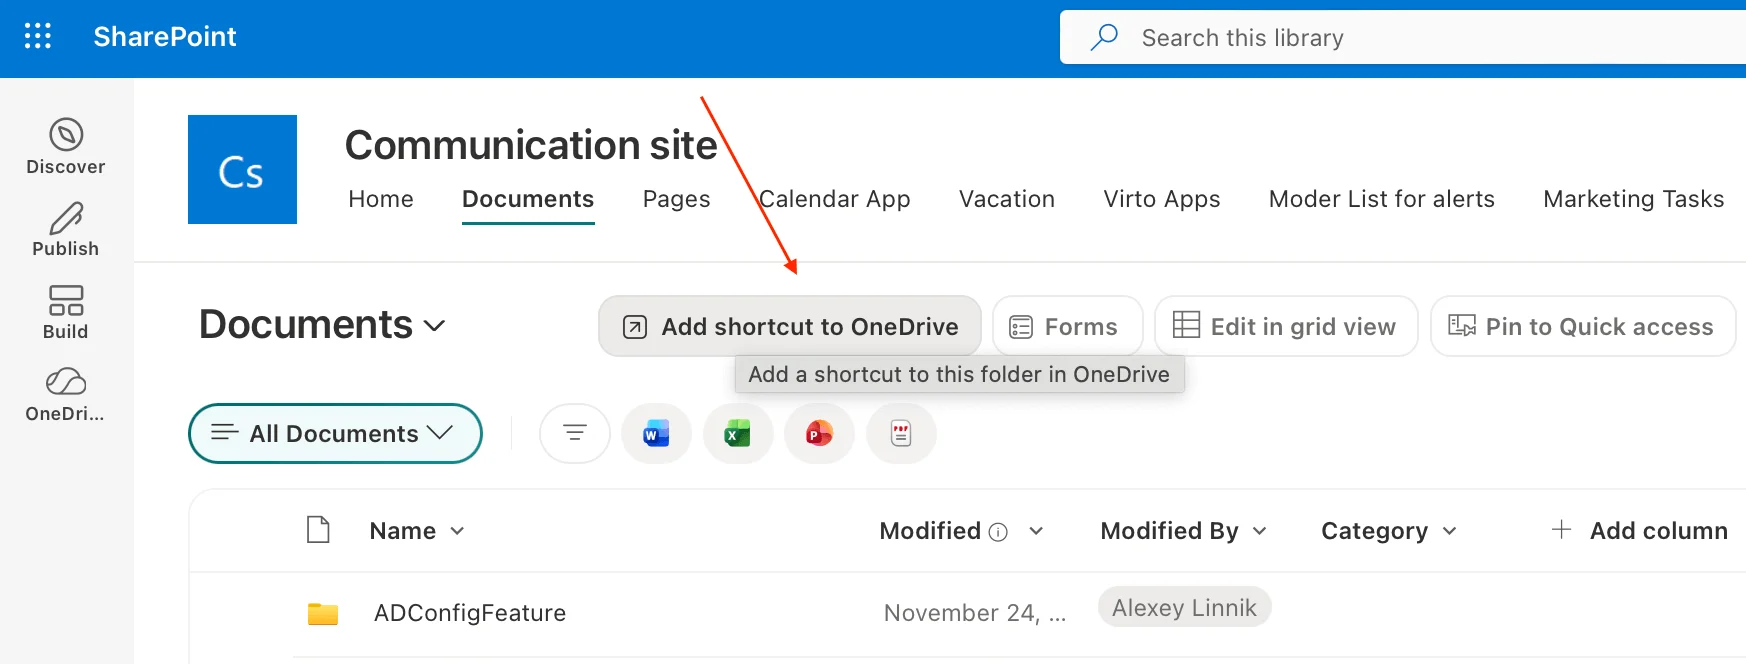
- Open the source library in the browser and click Add shortcut to OneDrive (or Sync) on the command bar.
- Repeat for the destination library so both appear in your file manager — File Explorer (Windows) or Finder (Mac).
- In File Explorer or Finder, drag the files from the source folder into the destination folder.
- Wait until the sync icons show completion — a green check mark in File Explorer, or the equivalent status badge in Finder — confirming the files uploaded to the destination site.
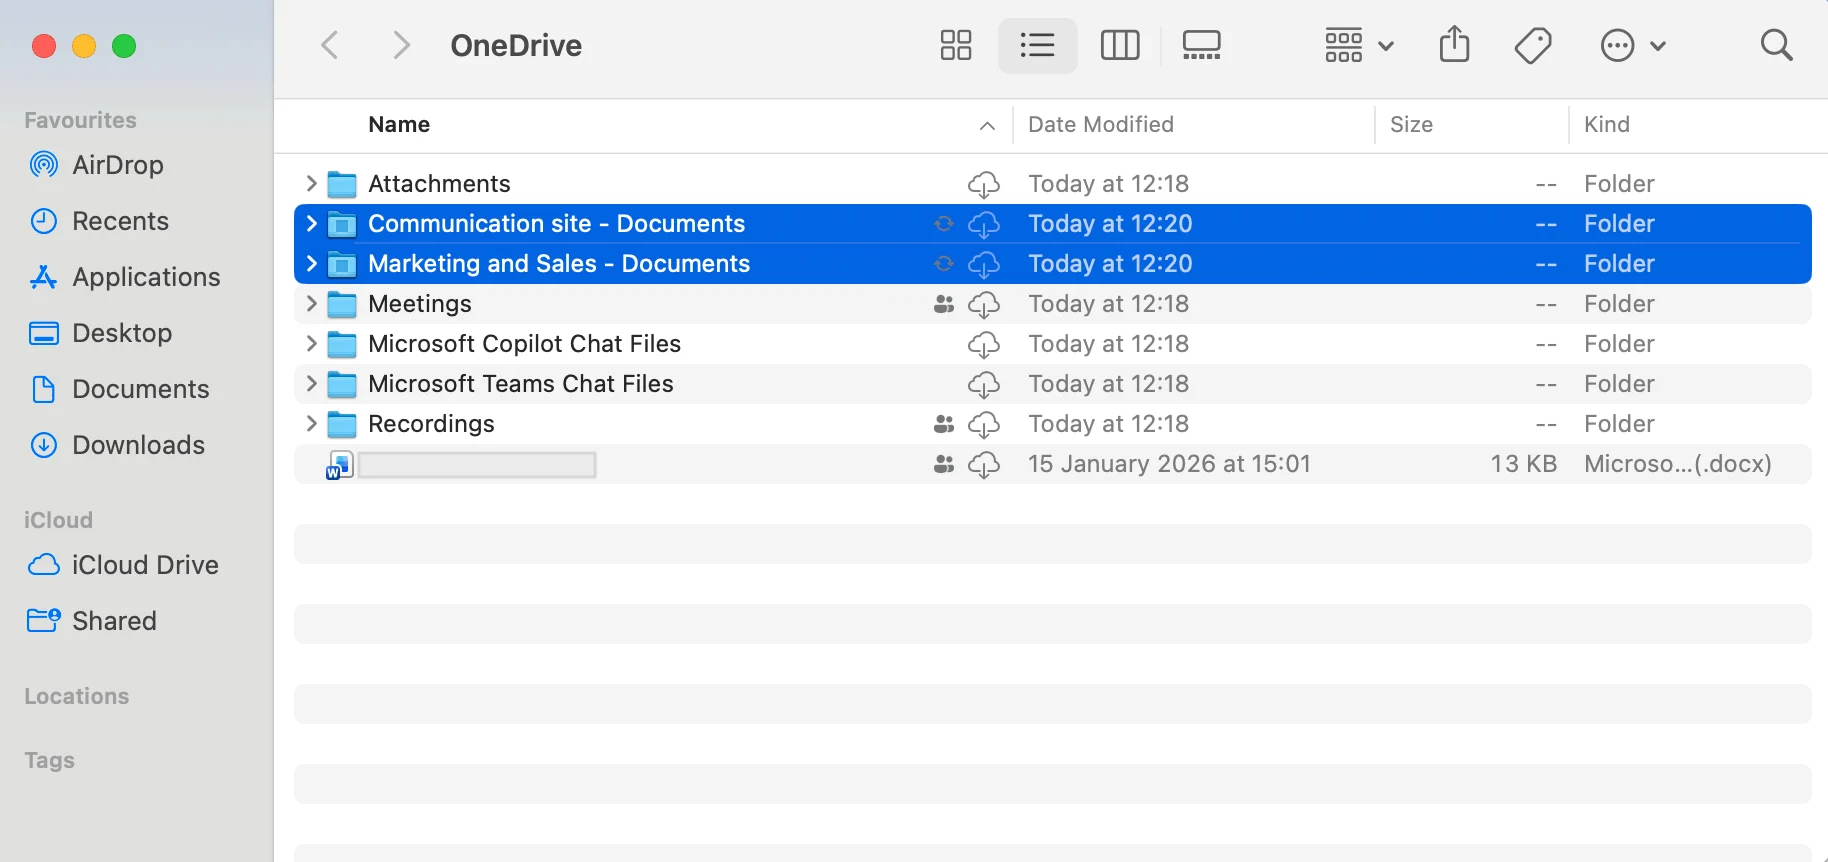
Both SharePoint libraries shown as synced folders — on a Mac, in the Finder sidebar.
Note: Sync-based moves (on both Windows and Mac) do not always preserve full version history the way “Move to” does, so use this method mainly for current-version files and drag-and-drop convenience.
How to move files between different site collections
“Move to” works across different site collections in the same tenant, but it does not move files between separate Microsoft 365 tenants.
A site collection is a top-level site and everything beneath it. When you click Browse sites in the Move panel, SharePoint lists sites across collections in your tenant, so a single move can cross collection boundaries. Keep these limits in mind:
- Cross-tenant moves are not supported natively. To move files to a different organization/tenant, you need a migration tool or the SharePoint Migration Tool.
- Metadata may not map. Columns that don’t exist in the destination library are dropped, and managed-metadata or lookup columns often don’t transfer cleanly.
- Content types must match for custom metadata to carry over; otherwise files inherit the destination library’s default type.
How to move an entire folder between SharePoint sites
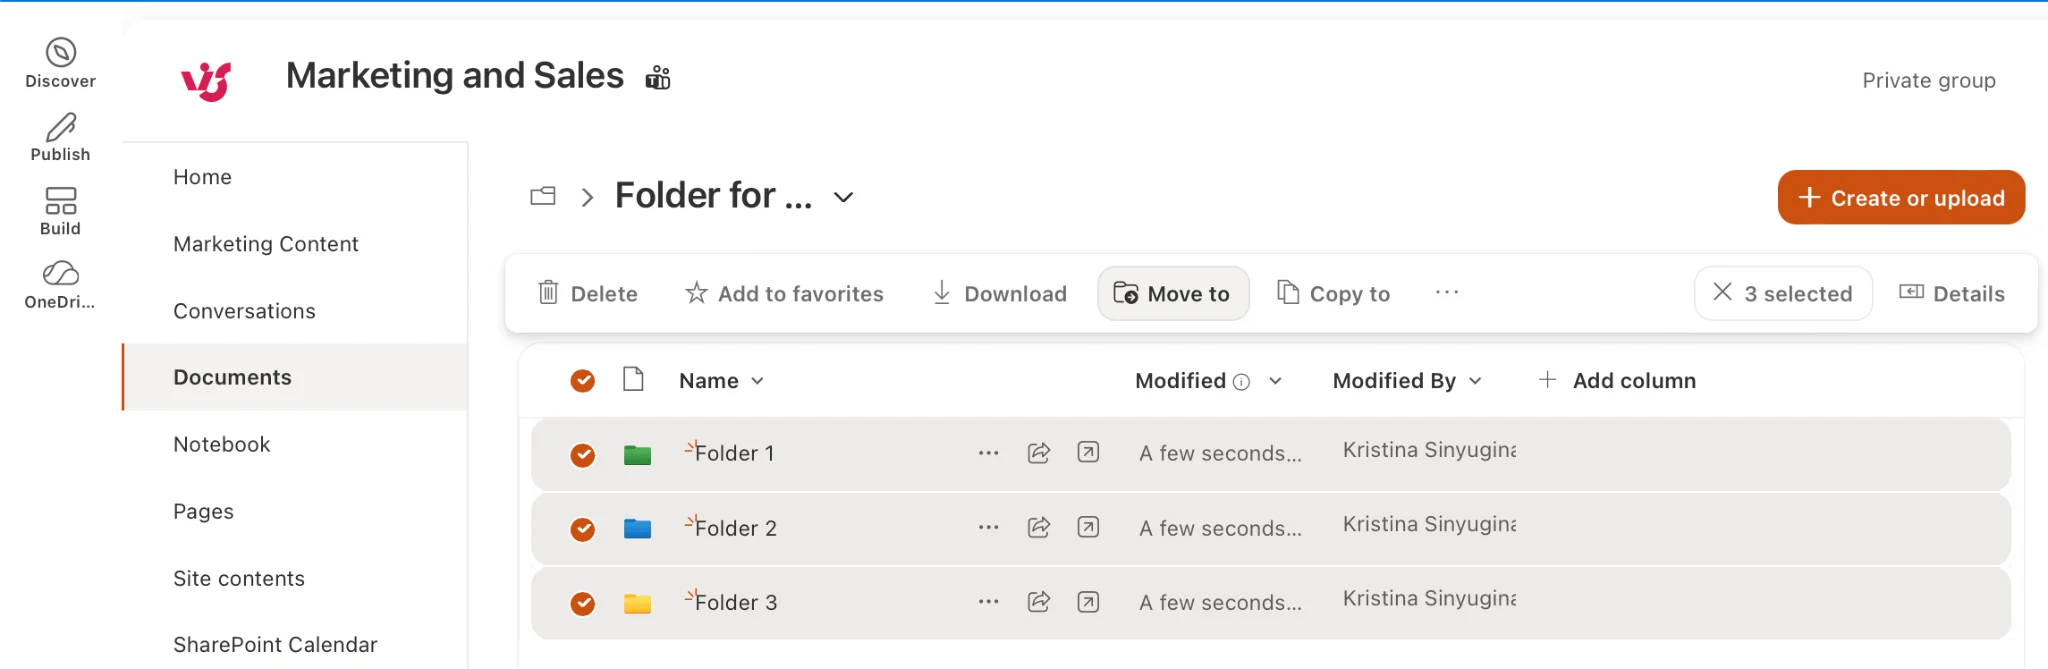
To move a whole folder, select the folder itself—not its contents—and use Move to; the full folder structure moves with it.
- In the source library, select the circle next to the folder you want to move.
- Click Move to on the command bar.
- Choose the destination site, library, and parent folder.
- Click Move here. The folder and all of its subfolders and files move together, keeping their internal structure.
Moving an entire folder, including its subfolders, to the destination site.
Limits to watch: Microsoft’s “Move to”/“Copy to” has practical ceilings—very large jobs (thousands of items or 100+ GB) can time out or fail. For big folder moves, split the work into smaller batches or use a dedicated bulk tool.
Move vs Copy: when to use each in SharePoint
Use Move to relocate files permanently and free up the source; use Copy to duplicate files while keeping the originals in place.
- Move to — deletes the file from the source after transfer, preserves version history. Best for reorganizing libraries, consolidating sites, or one-time migrations.
- Copy to — leaves the original untouched and creates an independent duplicate (also keeps version history). Best for reusing templates, branching documents, or distributing a master file to multiple sites.
Rule of thumb: if the source location should no longer hold the file, move it; if both locations need a copy, copy it.
Common errors and how to fix them
Most failed moves come down to missing permissions, an unavailable “Move to” option, or hitting size and item limits.
- “Move to” is missing or greyed out — switch the library to the modern experience, make sure files (not just a view) are selected, and confirm the item type supports moving.
- Access denied / permission errors — you need at least Edit (Contribute) permission on the destination library and the ability to delete from the source. Ask the site owner to grant access.
- Checked-out or in-use files won’t move — check the files back in (or discard the checkout) and close any open copies, then retry.
- Large jobs time out — break the selection into smaller batches, or use a bulk file tool that queues operations server-side.
- Metadata disappears after the move — recreate the matching columns/content types in the destination library before moving, or map metadata with a migration tool.
Need to move hundreds of files across sites at once?
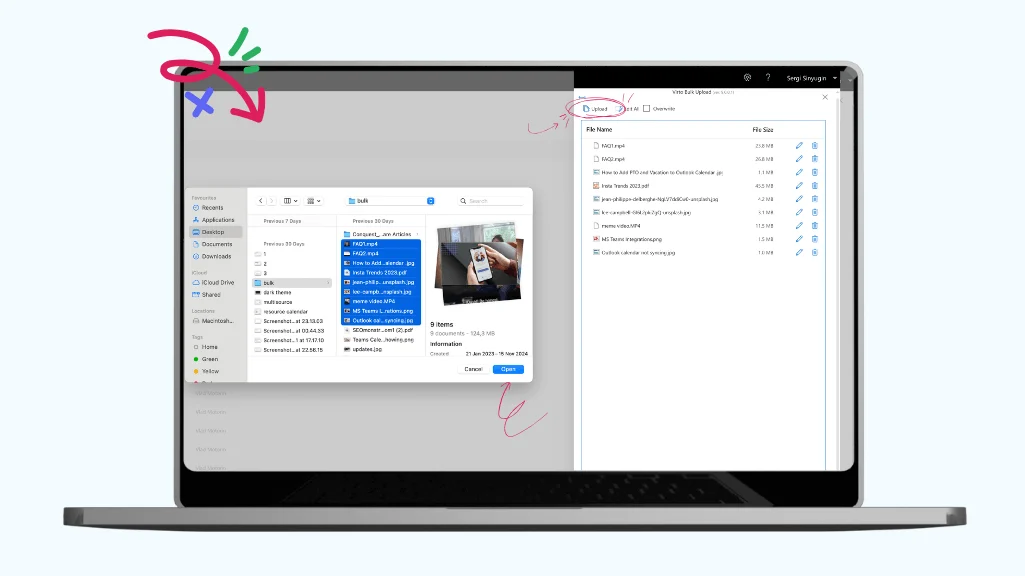
SharePoint’s built-in tools handle small batches well, but repeating “Move to” for hundreds of files—or working around item limits and metadata loss—quickly becomes tedious. Bulk file tools remove that friction:
• SharePoint On-Premises: Virto Multiple File Operations lets you upload, download, delete, copy, and move multiple files in a few clicks—without repeating the process for each item.
• SharePoint Online & Microsoft 365: Virto Multiple Operations App brings the same bulk upload, edit, and delete power to the cloud, with drag-and-drop and one license covering SharePoint and Azure.
Further reading
- How to move files in SharePoint
- SharePoint document management best practices 2026
- SharePoint permissions best practices
Microsoft documentation: Move or copy files in SharePoint · Manage large lists and libraries
